November 29, 2011

Thanksgiving's Over, Next Holiday Please!!!

Hope everyone survived Thanksgiving!!!!  I had a pretty good holiday.  In September I moved my 81 year old mother in to live with me so this was our first Thanksgiving together in probably 19 years.  I made a small but tasty feast and I gotta tell ya, I've had about as much turkey as I can handle!  It was all good but I'm ready for a nice juicy burger right about now.

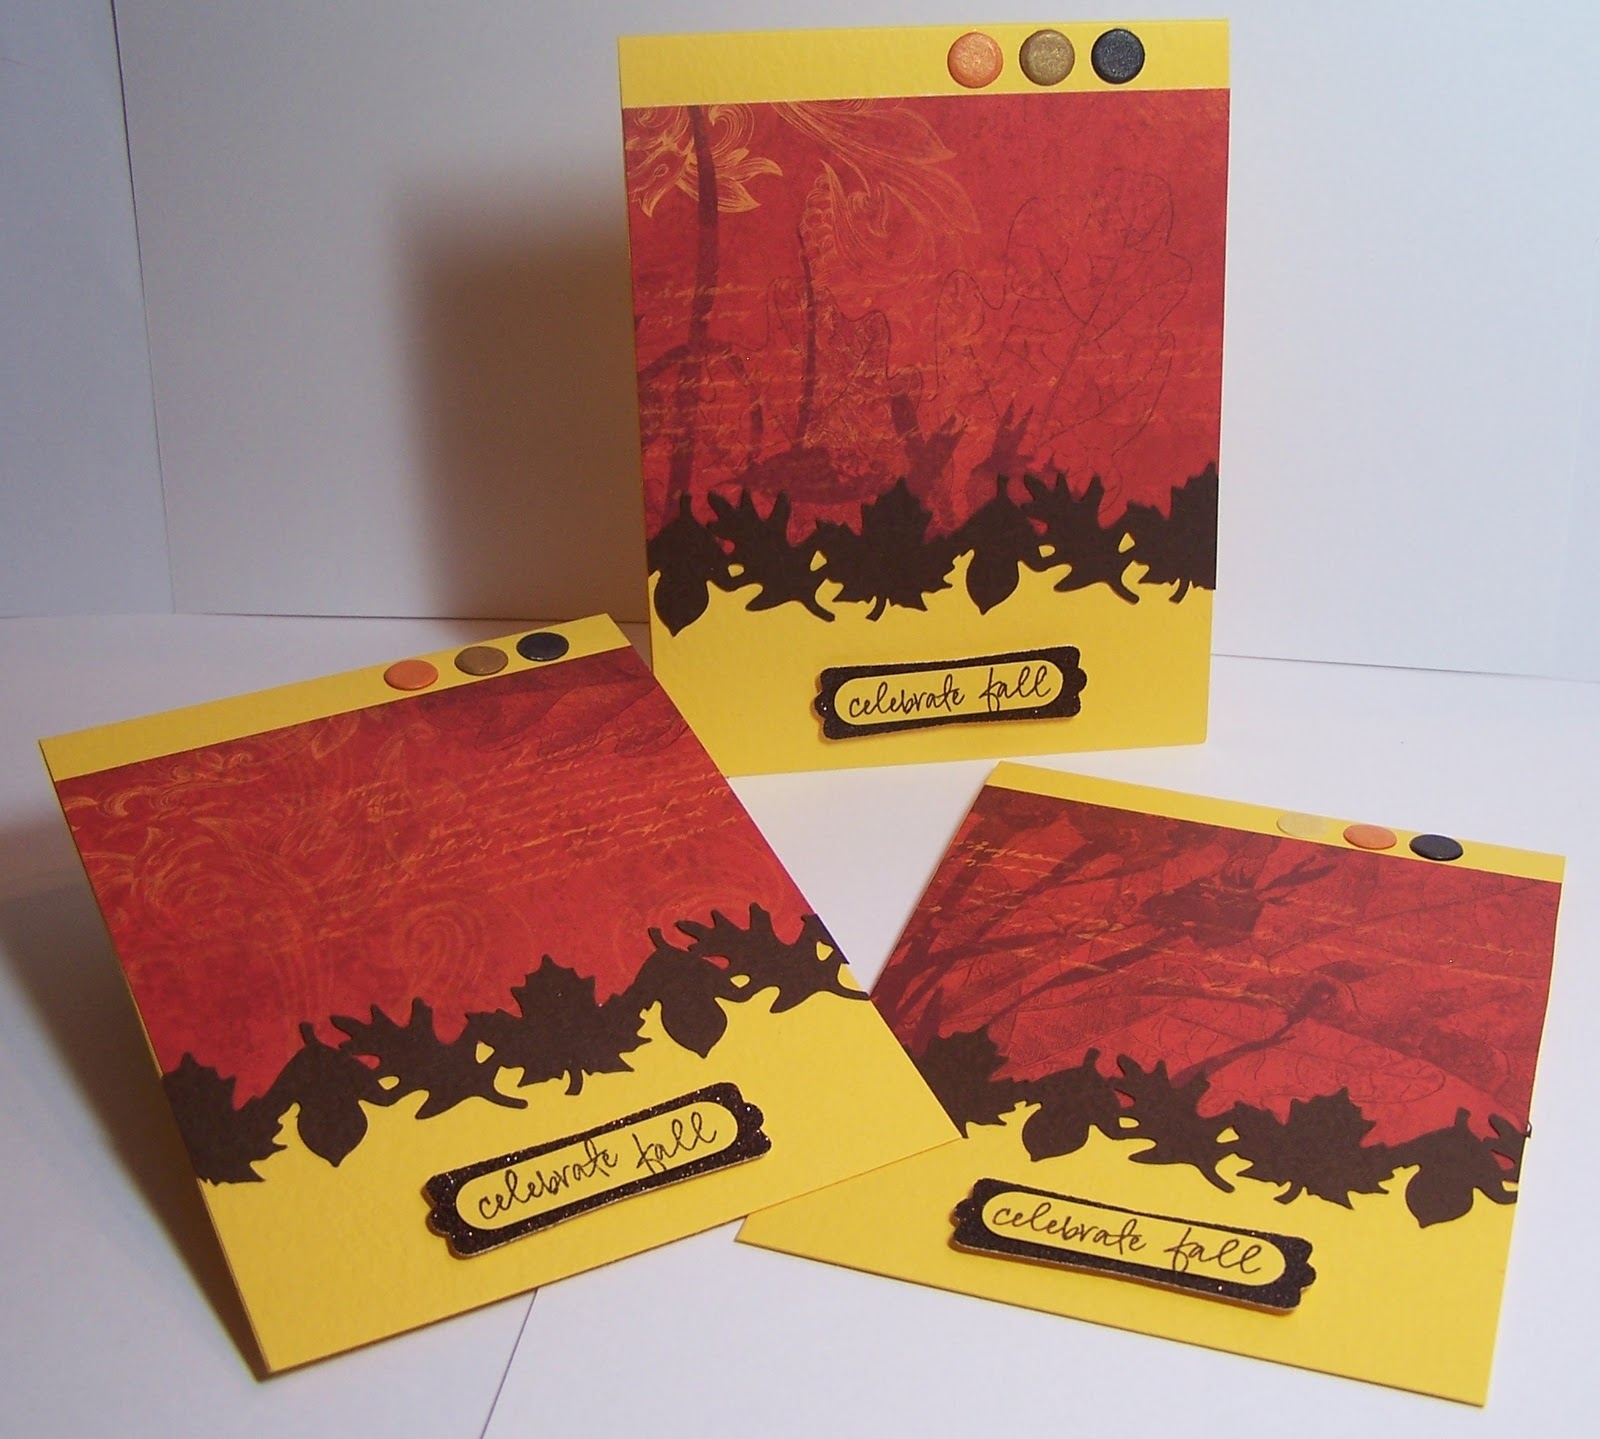
Well now that Thanksgiving is officially over, I can begin to enjoy all the Christmas fuss....now I don't mind seeing Christmas decorations or listening to Christmas music.  The decorations go up and the music seems to start earlier and earlier each year and by the time Christmas rolls around I just want to bang my head against a wall - so I tried to limit my exposure until at least after Thanksgiving.

Over the next several weeks I'll be posting some of the Christmas or Hanukkah cards I've made.  The first card is of a Hanukkah card I made which was published in the November 2010 issue of CardMaker Magazine.  There are so many different ways to spell Hanukkah (i.e. Chanukah, Chanukkah and Chanuka).  The stamp set I used spelled it differently than I do but the sentiment is still the same.  LOL!!!!


This card was the first card I submitted that was accepted for publication.  I think I sent a total of eight cards for that particular submission request and was thrilled when they selected one.  I received the 'we'd love to publish' email for this one right before I got the remaining 'unable to use' emails....at least the good news was received first.  So far I've had four cards accepted for publication.  All in CardMaker Magazine....no wonder they're my FAV magazine!!!


This type of card is called a waterfall card.  When you pull the tail with the ribbon on it, the four little tiles flip like a waterfall.  


Since I made this card a year ago I don't have an accurate list of the supplies used.  I do know the stamp set is called Jewish Greetings and it's from Impression Obsession. 

That about it does it for this post...I hope you enjoyed seeing this. 

Heidi


November 19, 2011

Celebrating Fall


Hello everyone....

I know, I know, we're way into the Fall season but I wanted to share this card I made to welcome in Fall this year.  I knew when I saw the patterned paper it would make a beautiful card.  Fall is my favorite season...I just love the color combinations - reds, oranges and yellows.  The colors just don't last long enough for me - the leaves go from all those wonderful colors to plain, naked branches! 


I'm showing three cards because I wanted to show the patterned paper in each one is different.  It's all the same piece of paper just a different portion of the sheet. The patterened paper is from Bo Bunny's Forever Fall collection and is called 'Forever Fall Blaze'.  The leaf border is from an edger punch from EK Success called 'Leaf Chain'.  I know it's hard to tell from the picture but the brown cardstock behind the stamped sentiment is a dark chocolate glitter paper from The Best Creation Inc. This is the best glitter cardstock because the glitter is in the paper itself, it does NOT come off when you touch it so there's no glitter on the table, the floor or on your face...LOL!  I used the X-tra large modern label and the word window punches from Stampin' Up to punch out the sentiment which is from Stampendous 'Everything Happy' set.   Craftwork Cards has this new product out called 'Candi' which are little round pieces that resemble brads without the bulky prongs.  I just used glue dots to attach them to the card and they look really great!  They come in tons of different colors and I used the 'Sahara' pack.

I hope everyone has a happy Thanksgiving and is able to spend time enjoying family, friends and food!!!! 

Heidi

November 13, 2011

Oh My Gosh - It's My First BLOG!

Hello, my name is Heidi and welcome to my first ever blog post.  Oh, I've read lots of blogs but this is my first attempt at actual blogging.

I have this really fun, part time job at Archiver's where everyone there is sooooo talented and I'm always learning new things. Since I love, love, love to learn different techniques and my Mother raised me to ALWAYS share with others, I thought what better way to share what I learn then to post it in a blog? While everything I share may not always incorporate a new technique, it will always incorporate my love of card making! 

But first, you may wonder how I picked the name 'Smiley Guy Designs'? Well, besides the obvious fact that I'm basically a happy person and love a cute Smiley Face, I have this little stuffed character that my boyfriend gave me about 12-13 years ago.  He's a Smiley Face with little legs so I named him 'Smiley Guy'.  Now, Smiley Guy made the rounds and never stayed where I put him.  Somedays I would open the dryer and he'd be in there with the laundry.  Sometimes he would be inside the bag of dog food just sitting there staring at me.  One day I even found him in the fridge.  So when I think of things that make me happy....making cards is one thing but remembering how Smiley Guy makes me....well, smile...I  just thought it would be an appropriate name for my blog.


So to get things started I'd like to share with you one of my recent Thanksgiving cards.

I used papers from We R Memory Keepers ‘Autumn Splendor’ collection to which I inked all edges to give them a little bit of depth.  I love the muted fall colors.  I stamped the two-part tree image using a stamp-a-ma-jig tool that helps you align your stamp perfectly.  I stamped the tree trunk in brown and then was able to perfectly stamp the leaves around the trunk in green.  It’s such a cool tool!  The stamps are part of the ‘Trendy Trees’ stamp set from Stampin’ Up.  The sentiment is from the ‘Vintage Picnic Sentiments' set from Papertrey Ink.  The border punch at the bottom is from EK Success and is called ‘Plaid’.  I layered a brown ribbon on top of a yellowish gold ribbon, adhered everything down and voila – a card is born! Oh, and of course you need a coordinating envelope to match!

Phew!  Seems I've made it through my first post - I hope y'all enjoyed it!  Thanks for reading!

Heidi